Warwick16358@legacy41698774 (talk | contribs) mNo edit summary |
Crasher17446@legacy41699648 (talk | contribs) (→Bonus) |
||
| Line 31: | Line 31: | ||
==Bonus== |
==Bonus== |
||
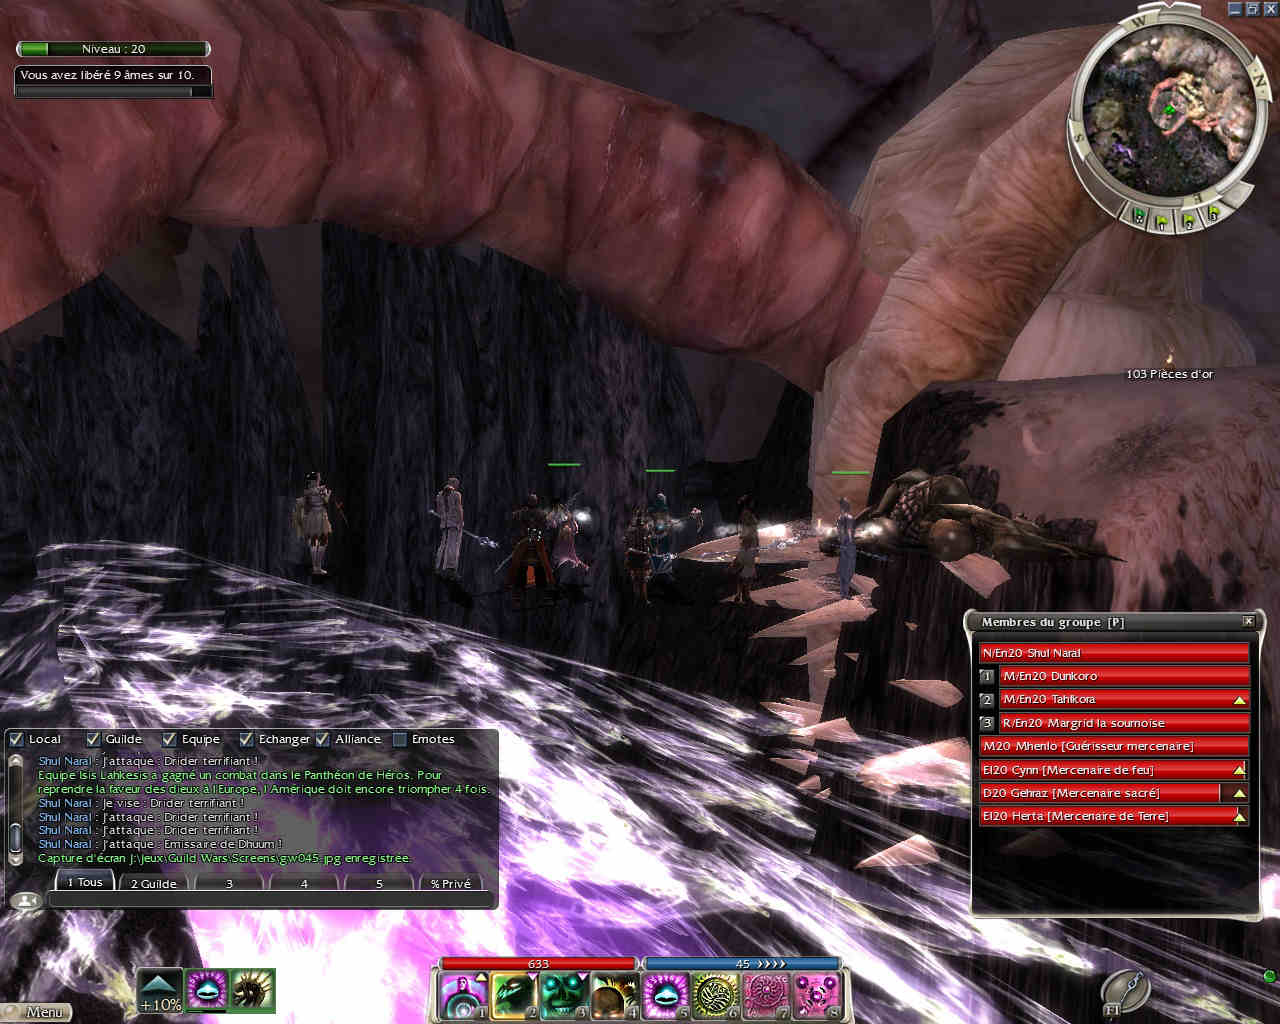
| − | After crossing the first bridge, there should be a set of stairs leading up to a large structure which houses one of the three [[Emissary of Dhuum|Emissaries of Dhuum]]. The remaining two are to be found on the far west of the mission map, one north of the structure and the other to the south. Three [[Terrorweb Dryder]]s accompany the Emissaries of Dhuum, all three of which must also be killed in order to get bonus objectives; be prepared to interrupt [[Meteor Shower]]. In |
+ | After crossing the first bridge, there should be a set of stairs leading up to a large structure which houses one of the three [[Emissary of Dhuum|Emissaries of Dhuum]]. The remaining two are to be found on the far west of the mission map, one north of the structure and the other to the south. Three [[Terrorweb Dryder]]s accompany the Emissaries of Dhuum, all three of which must also be killed in order to get bonus objectives; be prepared to interrupt [[Meteor Shower]]. In rare cases, it is possible to lure away the Terrorwebs without luring the Emissary, allowing you to dispatch them separately. |
If going for the Master's Reward, you must kill all three Elite Emissaries of Dhuum <u>and</u> the three accompanying Terrorweb Dryders before killing the last of the Tortureweb Dryders. If you have freed 8 or 9 of the tortured souls, you must kill the Emissaries. Killing the last Tortureweb Dryder will trigger the mission ending cut scene once the spirits reach the proper spot on the river. |
If going for the Master's Reward, you must kill all three Elite Emissaries of Dhuum <u>and</u> the three accompanying Terrorweb Dryders before killing the last of the Tortureweb Dryders. If you have freed 8 or 9 of the tortured souls, you must kill the Emissaries. Killing the last Tortureweb Dryder will trigger the mission ending cut scene once the spirits reach the proper spot on the river. |
||
Revision as of 22:53, 21 March 2008
This is a mission entry. For information on the mission outpost Gate of Pain, see Gate of Pain (outpost).

Emissaries of Dhuum locations (bonus)
Mission Objectives and Rewards
Dunkoro must be in your party before going on to the mission.
Objectives
Find a way to release the tortured souls from the River of Souls.
- ADDED Destroy the Emissary of Dhuum.
- ADDED Kill Tortureweb Dryders to free the souls they captured from the River of Souls.
- BONUS Kill the additional elite emissaries. 0...3 elite emissaries destroyed.
Rewards
Reward Emissary of Dhuum XP Gold Skill Points Standard 0-1 1,000 100 1 Expert's 2 1,500 150 1 Master's 3 2,000 200 1 Hard mode Standard 0-1 1,000 200 1 Expert's 2 2,000 300 1 Master's 3 3,000 500 1
Primary
Upon entering the mission, your party has a choice of several paths to take, all of which contain patrols of Terrorweb Dryders, similar to those found in The Underworld, and of Abaddon's Torment Demons. The paths all lead to the same area, but the shortest is the far left fork in the road. Be observant of the movement of these patrols while moving through this area as more than one group can easily overwhelm the party.
Lightbringer's Gaze (especially if used by more than one party member at once) is extremely effective at quickly dispatching the demon groups, however, it does not work on the Terrorweb Dryders. It is imperative to coordinate fire power so that the beasts not be allowed to use their very powerful Call to the Torment skill, which creates a duplicate of the creature if it is not killed within 5 seconds.
Once you have passed through the initial area that resembles a mutilated digestive tract, you will find yourself on the bank of the River of Souls. Your party will hear a conversation between the soul of the Undead Lich and an Emissary of Dhuum. While listening, feel free to eliminate all the various Terrorweb Dryders infesting the immediate area. Once the conversation is over, Dunkoro will instruct you to kill the Tortureweb Dryder and the Emissary of Dhuum that comes to rescue it. Note that Lightbringer's Gaze does work on the Tortureweb Dryders. Be careful not to get them confused!
Tortureweb Dryders can pose a problem to the party, especially a party containing heroes or henchmen who tend to bunch up in one spot. As they are bosses, a single Liquid Flame from the monster can put a group of adjacent foes at the brink of death. It is best to prepare for them instead of hoping they always miss. The best approach is to bring skills that will completely shut down their ability to cast such as Shroud of Silence or to daze them so their spells are much easier to interrupt. When you destroy a Tortureweb Dryder, one or two souls will be freed and will head to the same spot at the entrance of the structure that dominates the center of the map.
After eliminating the first Tortureweb Dryder, you must explore the area and kill the rest of them in the area (six total). They can be found in a circular path and the party can eliminate them going around in either direction. Between each Tortureweb Dryder and the next there can be groups of Torment Demons or Terrorweb Dryders. Again, be observant of the patrols so the party is not surprised by a patrol while battling a Tortureweb. The mission ends once all the souls freed from the Torturewebs have made it to their waiting area.
Note: The mission ends immediately upon completion of the primary objective, so the bonus must be done before defeating the last Tortureweb Dryder.
Bonus
After crossing the first bridge, there should be a set of stairs leading up to a large structure which houses one of the three Emissaries of Dhuum. The remaining two are to be found on the far west of the mission map, one north of the structure and the other to the south. Three Terrorweb Dryders accompany the Emissaries of Dhuum, all three of which must also be killed in order to get bonus objectives; be prepared to interrupt Meteor Shower. In rare cases, it is possible to lure away the Terrorwebs without luring the Emissary, allowing you to dispatch them separately.
If going for the Master's Reward, you must kill all three Elite Emissaries of Dhuum and the three accompanying Terrorweb Dryders before killing the last of the Tortureweb Dryders. If you have freed 8 or 9 of the tortured souls, you must kill the Emissaries. Killing the last Tortureweb Dryder will trigger the mission ending cut scene once the spirits reach the proper spot on the river.
Following the red path on the map will lead you to all of the Emissaries of Dhuum and 5 of of the 6 Tortureweb Dryders. The last one is at the very end of the Red path.
If you do not kill all three of the Terrorweb Dryders that accompany the Emissaries of Dhuum, the bonus will not be considered complete.
In addition to the three linked Dryders, the eastern Emissary is also accompanied by two other groups of Dryders and a group of torment creatures. The emissary's group, the second and third Dryder groups and the torment creature group can each be pulled separately.
Tips
- A 600 Monk can easily tank and with dunkoro as a smite bonder you can easily get masters. the only enemy you need others for is Words of madness.
- A 55 monk can easily tank all of the mobs, allowing the other players to kill the foes. Only Herald of Nightmares can harm you with shatter enchantment; just bring 2 cover enchants and you are set.
- During this mission you will be under the Dreadful Pain environmental effect, which will inflict 20 damage every time you use a skill. This can put heavy pressure on the team if not properly planned for. Builds that rely on spamming skills will find the mission considerably more difficult than others. You should adapt your build and/or team composition to account for that effect.
- Winter is useful because many enemies use Mark of Rodgort in conjunction with fire damage.
- This mission can be done with heroes and henchmen with ease, as long as proper pre-mission planning is done. Light of Deliverance or Heal Party on a monk makes the environmental effect much less painful. Also, spell caster shutdown is of primary importance for this mission, since Terrorweb Dryders can very easily wipe an entire group in a blink of an eye. Daze, interrupts, and shutdown in the form of Guilt, Mistrust, or Power Block mesmers or Distracting Shot for rangers make the Dryders much more manageable. Furthermore, try to keep moving while attacking to help keep the party spread apart, so that AoE spells from the Dryders hit as few party members as possible. Bring a long/flat bow to pull groups (casting Protective Spirit beforehand helps make sure that you'll make it back alive) and watch for patrols before attacking Torturewebs. Take your time and bring Rebirth just in case.
- Getting over the first bridge can be tricky since you don't want to be caught between a Tortureweb and an Emissary. However, even though the Emissary stands slightly behind the Dryder, you can still pull it using a longbow from the bridge and it will follow you to about halfway down the bridge where you can dispatch it without having aggroing the Dryder.
- Alternately, once you exit the cave area, take a right and dispatch of the two Terrorwebs quickly. Then rush over the bridge and take out the Tortureweb before the Emissary of Dhuum shows up. If done right, the Tortureweb will be killed and your party can be at least half way across the bridge before the Emissary arrives. If your party doesn't have heavy damage capabilities, this might not be a good choice.
- Players are going to take lots of area of effect damage and 20 damage each time you cast a spell so, healing spells that have a lasting effect or an area of effect are very valuable. This includes spells such as Vigorous Spirit, Divine Healing/Heaven's Delight, Healing Seed, Heal Party, and Light of Deliverance. You could also find Healer's Boon handy, as you can cast fewer spells with stronger effects. Mark of Protection or Healing Hands are also helpful as they will temporarily turn the environmental effect to your benefit.
- "There's Nothing to Fear!" is capable of lowering the damage taken from Dreadful Pain, aiding somewhat during the middle of a fight.
- Symbiosis also is useful, as with a few enchantments, the Terrorweb Dryders' damage is not as catastrophic. This is useful if using a henchmen/hero party for extra protection.
- Maelstrom is another good choice to shutdown the Dryders, even with no points in Water Magic.
- It is easy to hench this mission with the right henchie combo. Do not skimp on healers and ensure that you have both henchie healers in your party as well as Dunkoro if you are not a healer yourself. Remember to spread your party out before pulling in the Dryders.
- Ward Against Harm is another useful skill if henching since you cannot flag henchmen individually to spread them out. It drastically reduces the damage from the Dryders, and provides an additional buff while facing the other mobs.
- A Ranger, using Broad Head Arrow should take a lot of pressure off of your group. The Terrorwebs are the main issue in the mission, and are probably the worst to deal with. A good idea is, along with the ranger, equip him/her with a skill that spreads out the condition such as Epidemic. This way, you'll be able to make sure that both of them are under Daze and are much easier to kill. When you use this strategy on the Torturewebs fighting them 1 on 1, they will be rendered completely useless if you have a continuous stream of attacks because everything will be interrupted that they use.
- Tortureweb Dryder bosses have a skill called Soul Torture that they will cast when idling. This skill takes 15 seconds to cast. Since AI normally does not cancel spell-casting in progress, player may take advantage of this opportunity.
Creatures
NPCs
Monsters
Bosses
 28 Tortureweb Dryder1 → Ether Prism
- 30 Undead Lich (Seen only briefly)
- Subject to Lightbringer's Gaze
Follow-up
- Upon completion of the mission players will find themselves in the Gate of Fear.
- To continue the storyline, take on the Primary Quest: Kormir's Crusade from Rahmor.
Notes
- All foes in this mission except for Terrorweb Dryders are affected by Lightbringer skills.
- The spells of the Tortureweb Dryders can inflict over 300 damage against AL 60 characters. Protective Spirit or Shelter is highly recommended.

Image of the "bugged" bridge.
- Instead of countering the damage dealt by the Tortureweb Dryders' spells, it is possible to almost guarantee an interrupt or daze on each of the foes using Broadhead Arrow, Concussion Shot, Distracting Shot, Magebane Shot, or Savage Shot.
- The mission will sometimes become bugged. Some of the souls do not always walk over to the eastern most edge and there is nothing that can currently be done about it. This usually happens when the Tortureweb Dryders die too close to the bridge they spawn next to, causing the soul[s] to spawn in the bridge.